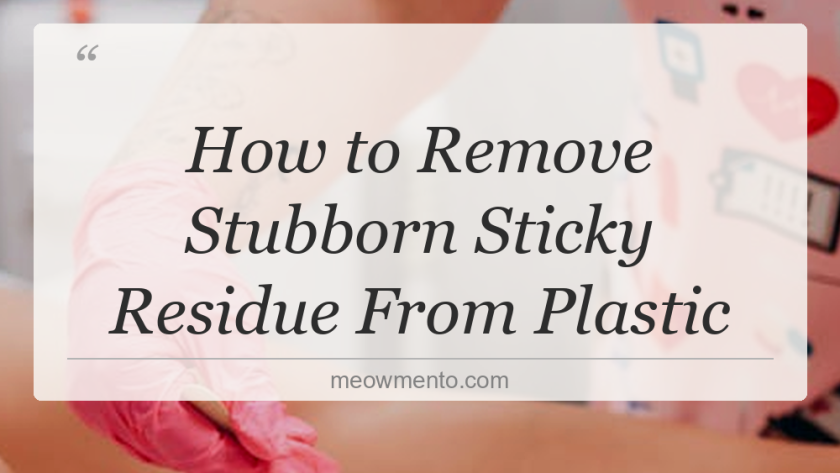
How To Remove Stubborn Sticky Residue From Plastic
Dealing with stubborn sticky residue on plastic surfaces can be frustrating, whether it’s leftover tape, price tags, or adhesive labels. Learning how to remove stubborn sticky residue from plastic doesn’t require harsh chemicals or expensive products. This comprehensive guide will walk you through proven methods using common household items to restore your plastic surfaces to their original clean state. For additional techniques, check out our complete guide on How To Get Sticky Residue Off Plastic.
Why Sticky Residue Clings to Plastic
Adhesives are specifically designed to create strong bonds with surfaces, and plastic’s smooth, non-porous nature actually makes residue more visible and sometimes harder to remove. The polymers in adhesive create molecular attractions with plastic surfaces that strengthen over time, especially when exposed to heat or pressure.
Understanding this bond helps explain why simple wiping doesn’t work. The residue needs to be broken down chemically or loosened physically before it will release from the plastic. Temperature, the age of the adhesive, and the type of plastic all affect how stubbornly the residue holds on. This is why having multiple removal methods at your disposal ensures success regardless of what you’re dealing with.
Tools & Materials You’ll Need
- Cooking oil (vegetable, olive, or coconut oil)
- Baking soda
- Rubbing alcohol (isopropyl alcohol 70% or higher)
- White vinegar
- Dish soap
- Soft cloths or paper towels
- Plastic scraper or old credit card
- Hair dryer (optional but helpful)
- Cotton balls or pads
Step-by-Step Removal Instructions
Step 1: Test Your Method
Before applying any solution to the entire sticky area, test it on a small, inconspicuous spot of the plastic. Wait 2-3 minutes to ensure the plastic doesn’t discolor, warp, or become damaged.
Step 2: Apply Heat (Optional but Effective)
Use a hair dryer on medium heat, holding it 4-6 inches from the residue for 30-60 seconds. This softens the adhesive and makes it easier to remove. Be careful not to overheat, as some plastics can warp.
Step 3: Choose Your Removal Agent
Apply your chosen solution generously to the sticky area. For cooking oil, pour a small amount directly onto the residue. For rubbing alcohol or vinegar, soak a cotton ball or cloth and press it against the adhesive for 2-3 minutes.
Step 4: Let It Soak
Allow the solution to penetrate the adhesive for 5-10 minutes. This waiting period is crucial—rushing this step means you’ll have to work much harder physically.
Step 5: Scrape Gently
Using a plastic scraper or old credit card at a 45-degree angle, gently push the loosened residue away. Never use metal scrapers as they’ll scratch plastic surfaces. Apply steady, consistent pressure rather than aggressive scraping.
Step 6: Make a Baking Soda Paste for Stubborn Spots
Mix two parts baking soda with one part cooking oil to create a paste. Apply this mixture to any remaining residue and gently rub in circular motions with a soft cloth. The baking soda acts as a mild abrasive while the oil breaks down the adhesive.
Step 7: Clean the Surface
Wash the entire area with warm water and dish soap to remove all traces of oil or residue. Dry thoroughly with a clean cloth.
Step 8: Repeat if Necessary
For extremely stubborn residue, you may need to repeat the process. Sometimes multiple gentle applications work better than one aggressive attempt.
Natural Alternatives That Work
If you prefer avoiding even mild chemicals, several natural options work surprisingly well. Peanut butter contains natural oils that break down adhesive—simply apply a thin layer, wait 10 minutes, then wipe away. Mayonnaise works similarly due to its oil content.
Lemon juice combined with salt creates a natural abrasive cleaner that’s particularly effective on lighter residue. The citric acid helps dissolve adhesive while the salt provides gentle scrubbing power. Apply the mixture, let it sit for 5 minutes, then wipe clean.
Steam from a kettle or bowl of hot water can also soften adhesive naturally. Hold the plastic item over steam for 1-2 minutes, then wipe immediately while the residue is softened.
Troubleshooting Common Problems
Residue won’t budge: You’re likely not waiting long enough for the solution to penetrate. Extend soaking time to 15-20 minutes and consider applying heat first.
Plastic becomes cloudy: Stop immediately—you may be using too strong a concentration or incompatible product. Switch to a gentler method like cooking oil or dilute your solution with water.
Sticky feeling remains after cleaning: This means oil or adhesive residue is still present. Wash multiple times with dish soap and warm water, or wipe with rubbing alcohol followed by soap and water.
Residue spreads when you try to remove it: You’re scrubbing too early. Allow more soaking time so the adhesive fully breaks down before attempting to wipe it away.
Preventing Future Sticky Residue
When purchasing items with labels, look for products with removable adhesive specifically designed to peel cleanly. Before applying new stickers or labels, consider whether you’ll want to remove them later.
Remove labels and stickers as soon as possible after purchase—fresh adhesive is always easier to clean than aged residue. If storing plastic containers, remove all commercial labels first to avoid dealing with hardened adhesive months later.
For items you’re labeling yourself, use painter’s tape or removable sticky notes instead of permanent adhesive products. These alternatives provide temporary marking without the long-term cleanup challenge.
Your Plastic Surfaces, Restored
With these proven techniques, you now know exactly how to remove stubborn sticky residue from plastic using safe, accessible household products. The key is patience—allowing solutions adequate time to work makes the difference between frustrating scrubbing and easy removal. Keep these methods handy for whenever sticky situations arise, and your plastic items will stay clean and pristine for years to come.