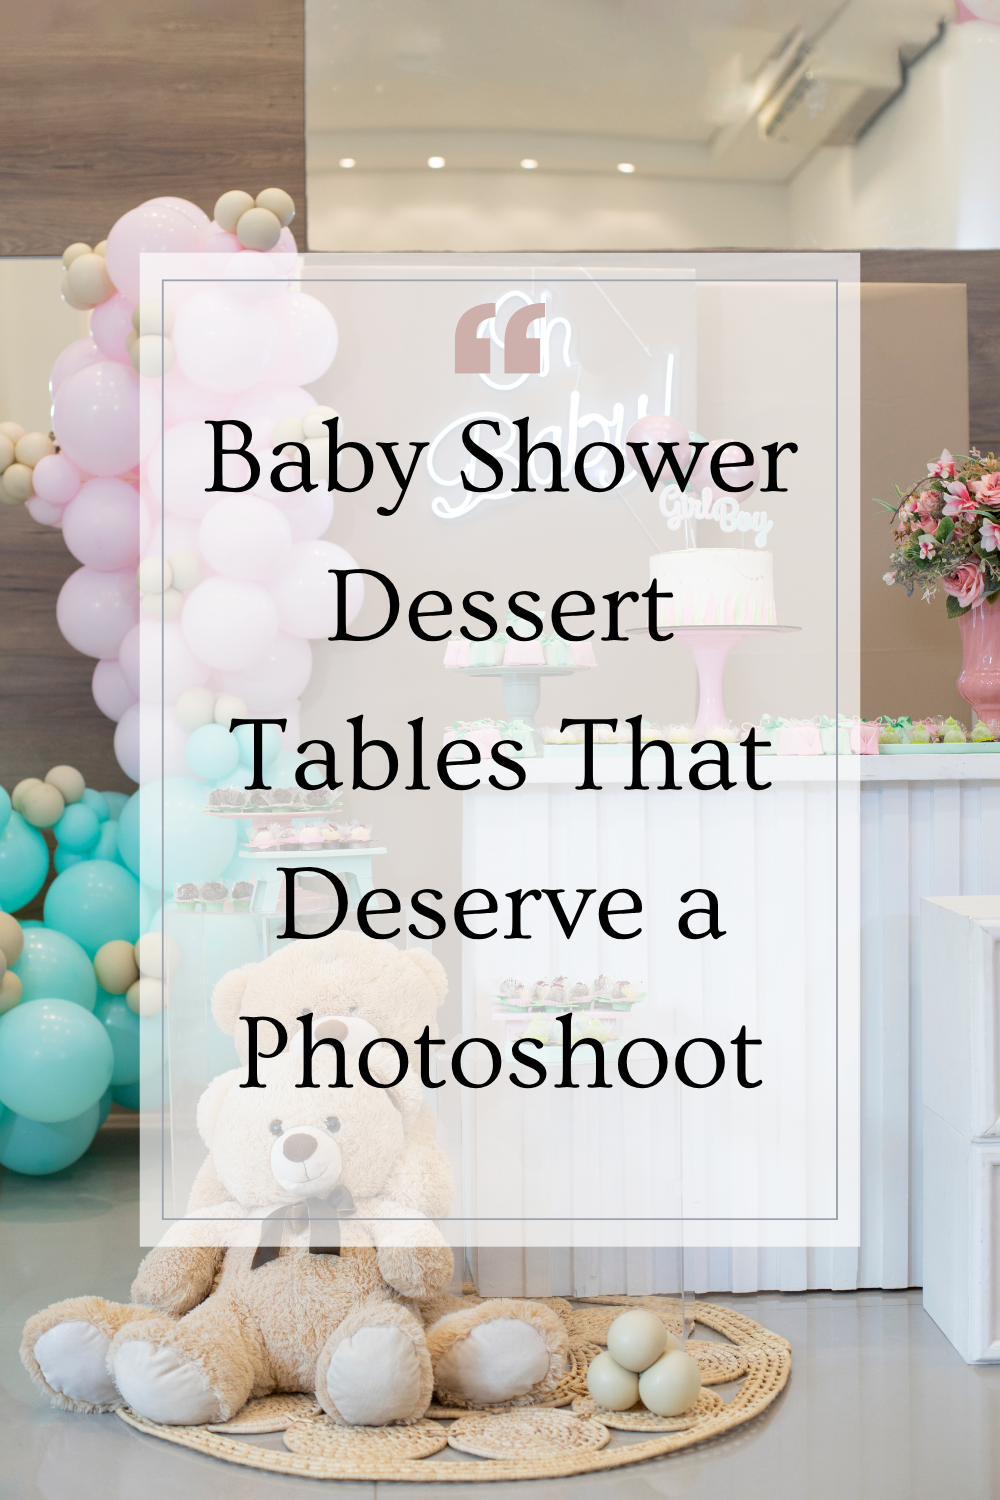
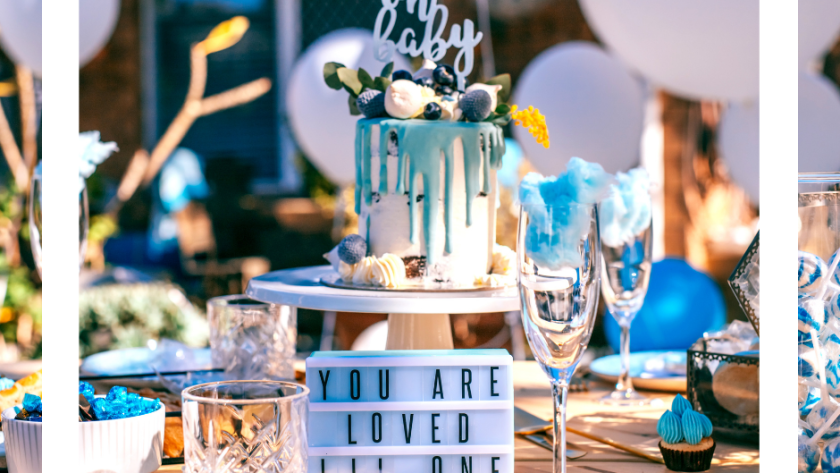
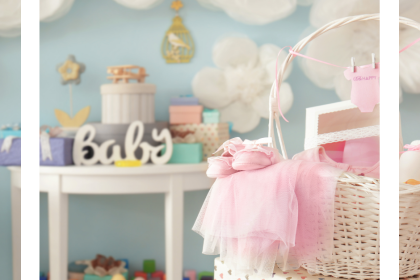
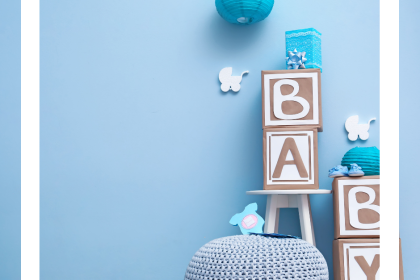
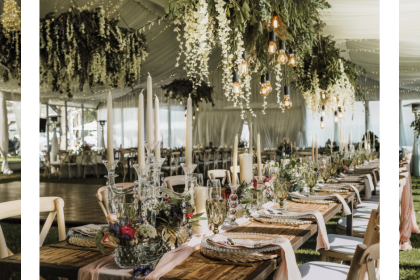
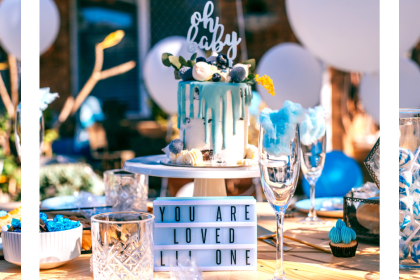
Okay, girl, let’s be real — if you’re going to throw a baby shower, you’re not about to do it halfway. You want your guests walking in, gasping a little, and saying, “Oh, this is cute-cute.” And the dessert table? That’s the showstopper. The Beyoncé of the party.
But here’s the thing: you don’t need a stylist with a headset or a five-figure budget to get that magazine-worthy vibe. You just need a plan, some style sense, and the confidence to pull it together like you were born for this (because, duh, you were).
Let’s break it down.
1. Pick a Color Story — and Commit
No, we’re not doing “whatever was on sale at the party store.” We’re doing intentional. Think three main colors, max — one base, one accent, and one pop.
For example:
- Neutral Chic: Cream, taupe, dusty rose.
- Modern Fresh: Sage green, white, soft peach.
- Bold & Sweet: Navy, blush, gold accents.
Commit to these colors all the way through — from the frosting on your cupcakes to the backdrop behind the table. That’s how you get that cohesive, high-end look without hiring a stylist.
2. Layer Heights Like You Mean It
Flat tables are boring. You need layers. Use cake stands, glass jars, risers, and even stacks of pretty hardcover books (yes, really) to give your table dimension. The eye loves variety — big centerpiece cake in the middle, then smaller sweets and snacks cascading down like edible confetti.
Pro tip: Hide sturdy boxes under a tablecloth if you need cheap risers. No one will know, and you’ll look like you just casually nailed a professional display.
3. Mix Textures Like a Stylist
A good dessert table has visual flavor before anyone even takes a bite. Mix smooth (glass jars), soft (linen napkins), rustic (wooden boards), and shiny (gold or silver serving utensils). That contrast makes everything look luxe.
If you’re serving something basic, like sugar cookies, put them on a marble platter with a little floral garnish. Suddenly, they’re chic sugar cookies.
4. Give Every Dessert Its Moment
Instead of dumping 40 cookies in one pile, group them into smaller, photogenic arrangements.
- Cupcakes? Line them up in a cute row or circle around the cake.
- Cookies? Stack them in neat piles, tied with twine or ribbon.
- Candy? Pour them into apothecary jars or mini bowls.
This not only looks better but makes your guests feel like they’re “choosing” their treat, not just grabbing something off a buffet.
5. The Backdrop is Half the Show
If you skip the backdrop, you’re basically dressing your dessert table in pajamas. A backdrop frames your sweets and pulls the whole look together.
Ideas that don’t scream “I bought this on clearance”:
- Balloon garlands in your color palette (organic shapes, not the overstuffed carnival kind).
- Hanging fabric panels or curtains.
- A faux greenery wall with a chic “Baby” sign in the center.
It’s like the difference between a flat-lay photo and a styled Instagram shot. The backdrop is your filter — and it’s free PR for your dessert table in every photo.
6. Personal Touches Win Every Time
This is where you make it theirs. Add baby name cookies, custom cupcake toppers, or a little framed sign with an inside joke. The kind of stuff Pinterest can’t sell, because it’s your touch.
If you’re DIY-ing, Etsy is your bestie for personalized printables you can edit and print at home. Instant “custom” without the custom price tag.
7. Lighting is Your Secret Weapon
You could have the most beautiful dessert table in the world, but if your lighting is bad? Game over.
If you can, set up near a big window for natural light. If not, invest in a couple of warm-toned LED spotlights. Harsh overhead lighting is the enemy — soft, even lighting is your friend.
8. Don’t Overcrowd — Curate
Here’s the thing: More doesn’t always mean better. If your table looks like a bake sale, you’ve lost the high-end vibe. Leave negative space so every treat has room to breathe. It makes each dessert feel intentional, not like you just emptied Costco onto a table.
9. Flowers & Greens Make Everything Better
Even if you don’t have a florist’s budget, a couple bunches of grocery store blooms can transform your setup. Stick to your color palette, trim the stems short, and scatter little vases or bud jars between desserts.
Bonus: fresh herbs like rosemary or mint can make your table smell incredible and look gorgeous.
10. Have a Refill Plan (Without Killing the Aesthetic)
Nothing ruins a pretty dessert table faster than a giant gap where the cookies used to be. Keep backup trays prepped in the kitchen so you can refresh in minutes.
Pro move: Swap empty platters with full ones instead of refilling on the spot. Your display stays perfect all party long.
Final Touch: Before guests arrive, stand back, take a quick photo on your phone, and look at it. If it feels “busy,” remove something. If it feels flat, add height. This little step will make you look like you’ve been styling events for years.
Girl, here’s the truth: You don’t need a stylist or a magazine budget — you just need intention, a little drama (the good kind), and the confidence to own the look. Because when that first guest walks in and says, “This is gorgeous!” you can smile, sip your mocktail, and think, Yeah… I know.
Girl, you got this.
Click to preview Pinterest-friendly flyer
